Monday, June 29, 2015
Deploying multiple Windows VM's from template (powerCLI)
Unlike this post, which talks about deploying Linux VM's, this one is about deploying Windows VM's which is a little different.
Your PowerCLI command will look like this:
Import-Csv "C:\boaz\NewVMs-LA01.csv" -UseCulture | %{
## Gets Customization info to set NIC to Static and assign static IP address
Get-OSCustomizationSpec $_.Customization | Get-OSCustomizationNicMapping | `
## Sets the Static IP info
Set-OSCustomizationNicMapping -IpMode UseStaticIP -IpAddress $_."IPAddress" `
-SubnetMask $_.Subnetmask -DefaultGateway $_.DefaultGateway -Dns $_.DNS1,$_.DNS2
## Sets the name of the VMs OS
$cust = Get-OSCustomizationSpec -name Windows2008R2_profile
Set-OSCustomizationSpec -OSCustomizationSpec $cust -NamingScheme Fixed -NamingPrefix $_.VMName
## Creates the New VM from the template
$vm=New-VM -name $_."VMName" -Template $_.Template -Host $_."VMHost" `
-Datastore $_.Datastore -OSCustomizationSpec $_.Customization `
-Confirm:$false -RunAsync
}
You will of course need to create a customization profile for this Windows Server, in which you can put all the relevant information, including a Domain membership, license key (If you're not using a KMS server) and others.
Your CSV file looks like this below in this example: (click on it to see bigger)
You can download this CSV from here
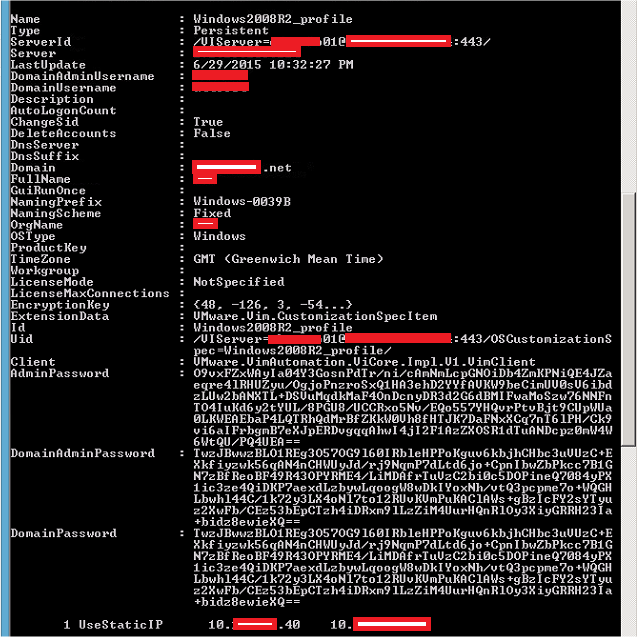
Your PowerCLI unlike Linux will look like this:(sorry for the red patches, had to remove identifying information)
Subscribe to:
Post Comments (Atom)


No comments:
Post a Comment